Stable Diffusion
It is undeniable that Diffusion Models are the hottest topic in the AI world right now. From Dall-E 2 from Open AI, Imagen from Google and Midjourney, everybody who works in this space have heard of them.
All these models were not really open to everybody, some got an early access to try them out, some are still waiting or you even have to pay to use some of these models.
Stability.AI released in August 22nd of this year Stable Diffusion which is an open source latent diffusion model that is able to do text to image and image to image. The model is available on the Hugging Face and can be run through the Hugging Face’s diffusers as in here or also directly on HF’s website here.
In this post however I will write about how to run it locally on GPU if you have it available. Before showing how to run SD locally, a short introduction to what Diffusion Models are.
Diffusion Models
Diffusion Models are generative models like GANs. In the original paper from 2015 Deep Unsupervised Learning using Nonequilibrium Thermodynamics it is mentioned that “The essential idea, inspired by non-equilibrium statistical physics, is to systematically and slowly destroy structure in a data distribution through an iterative forward diffusion process. We then learn a reverse diffusion process that restores structure in data, yielding a highly flexible and tractable generative model of the data”. What this basically means is that:
- First we apply lot of noise (Gaussian Noise) to an image (Forward Diffusion Process)
- A Neural Network is then tasked to remove this noise (Reverse Diffusion Process)
Forward Diffusion Process
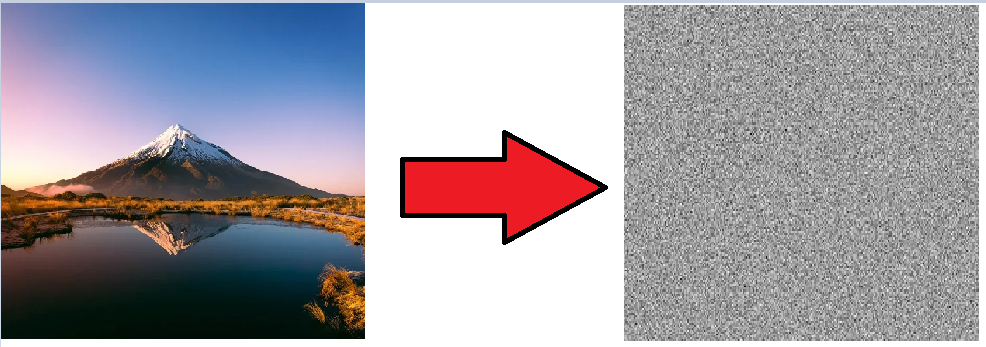
The noise amount applied is not always the same at each timestep. This is regulated by a schedule.There is linear schedule (more aggressive) and cosine schedule (less aggressive) which seems to be a better choice in retaining information and avoid having uninformative data at the end.
Reverse Diffusion Process
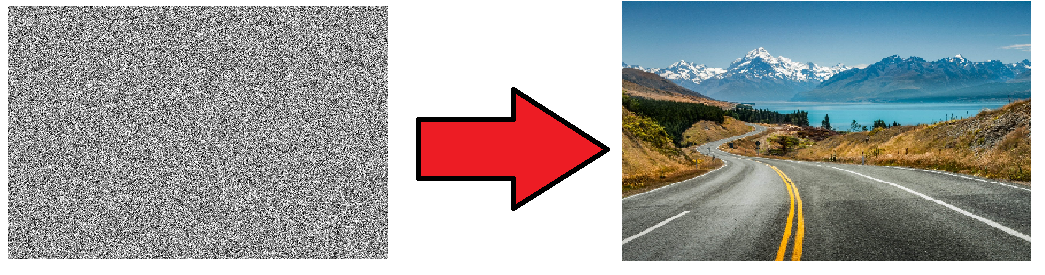
By doing this and when having a trained model that is capable of doing this task, we are able to start from complete noise and output a new image.
The Neural Network trained to remove the noise does this process step by step, gradually removing the noise until the picture is clear.
The model architecture is UNET with a bottleneck in the middle. It takes an image as input which goes thorugh ResNet and Downsample blocks. After the bottleneck the image goes through upsample blocks.
Stable Diffusion
Stable Diffusion’s official reposity is availble here
To run it is pretty simple. Clone the repo to your local directory. Next you should create a conda environment as listed in the Requirements section of the repo.
conda env create -f environment.yaml
conda activate ldm
Next you would need to download the weights which are available on the Hugging Face page here The weight I downloaded are 1.4sd-v1-4.ckpt
Make sure the weights are saved to directory stable-diffusion\models\ldm\stable-diffusion-v1 The model should be renamed model.ckpt
Based on the repo, to run it you would need at least 10GB of VRAM. It is also possible to run it with less powerful GPU by using the optimized version available here. If you have downloaded the original repo, you would just need to add the optimizedSD folder to the local repo and call the scripts from the optimizedSD folder. This version uses much less VRAM, for example 2.4GB for img2img with 512x512 resolution.
Text to image
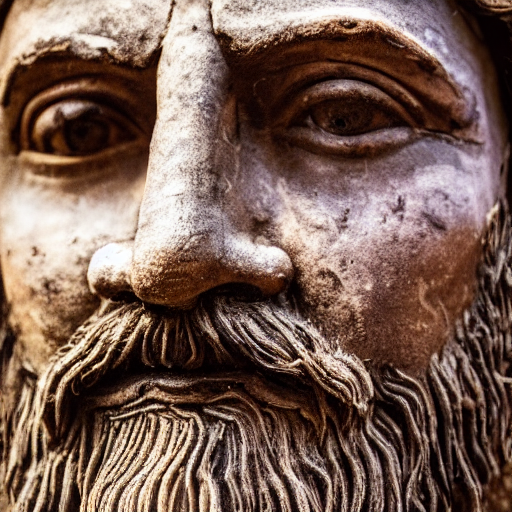
To run the repo it is pretty simple and can be done from Anaconda prompt after you activate the ldm environment. Below are some examples I ran. Note that you can tweak the outcome by editing the parameters but what actually is really important is the prompt you use. The model will output from the words used in the prompt, so it makes sense that you give as much details as possible.
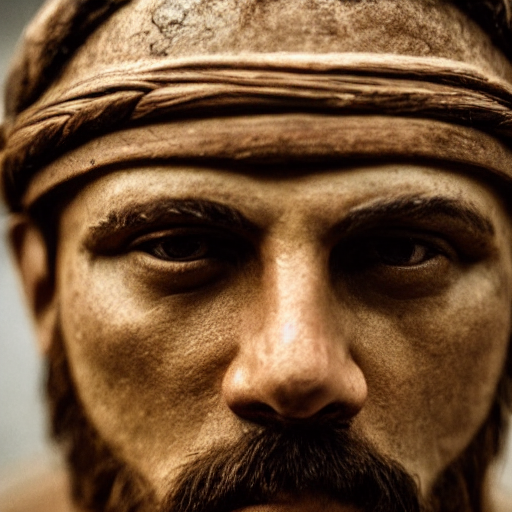
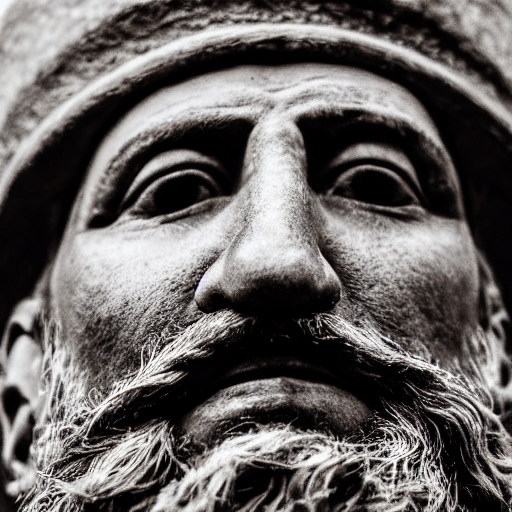
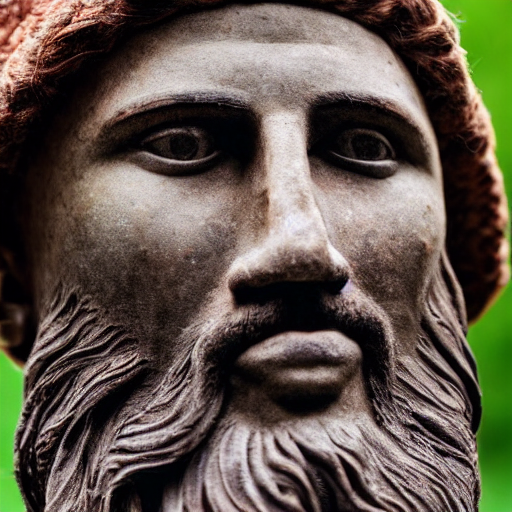
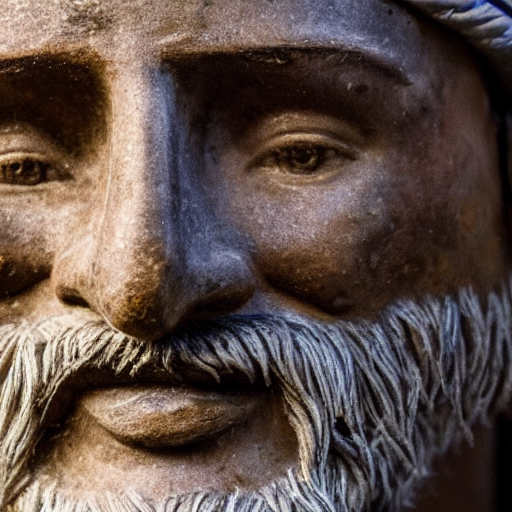
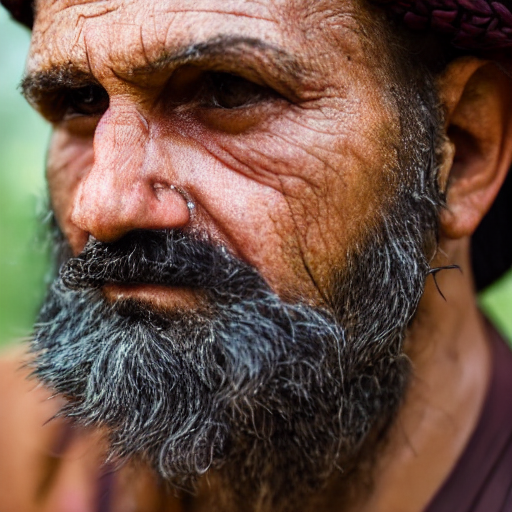
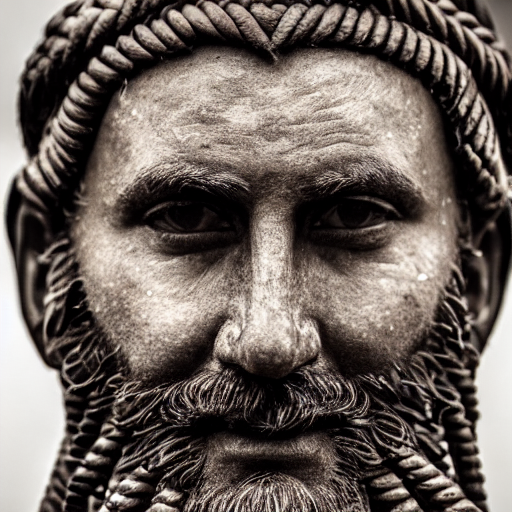
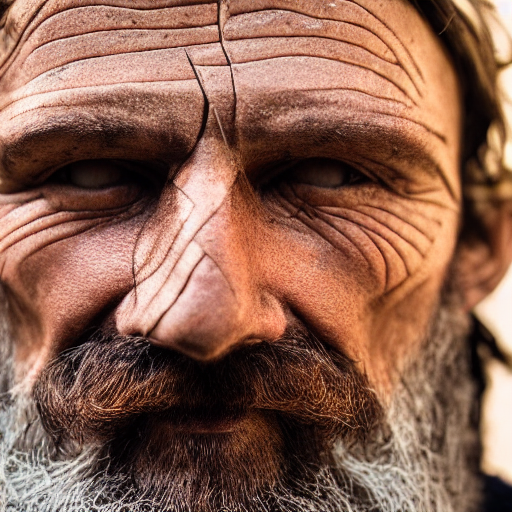
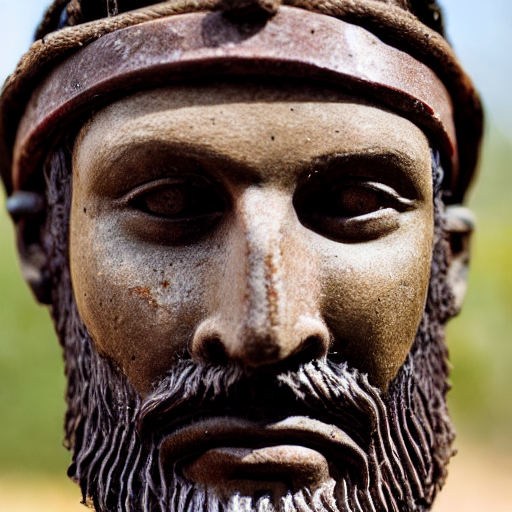
python optimizedSD/optimized_txt2img.py --H 512 --W 512 --ddim_steps 50 --turbo --skip_grid --prompt "A close-up of an Etruscan man face, braided beard, high_details, documentary style,8k" --precision autocast --n_iter 2 --n_samples 10
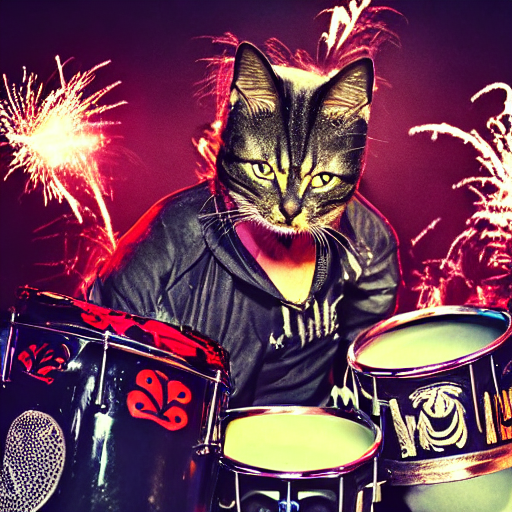
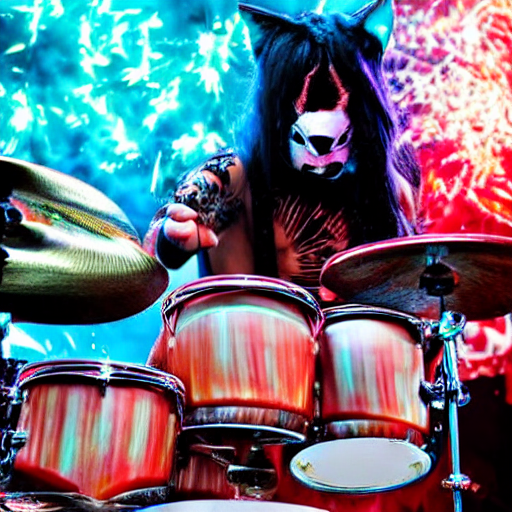
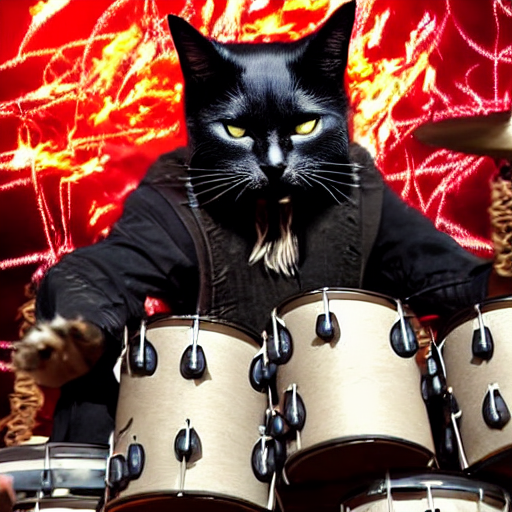
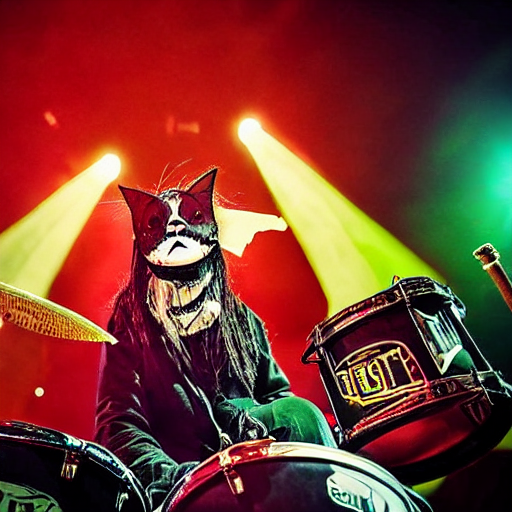
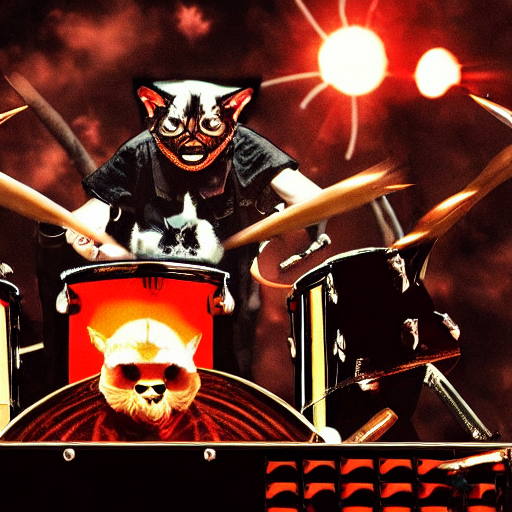
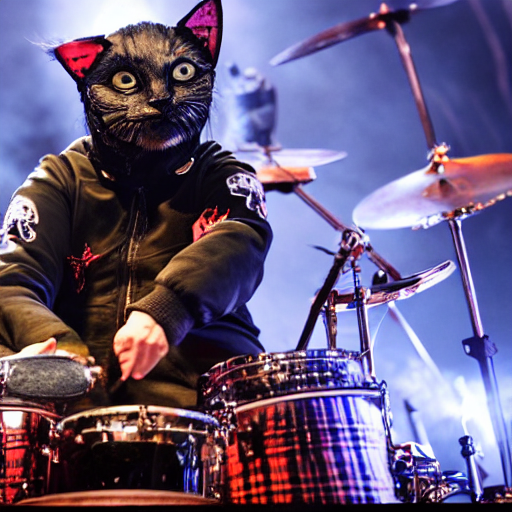
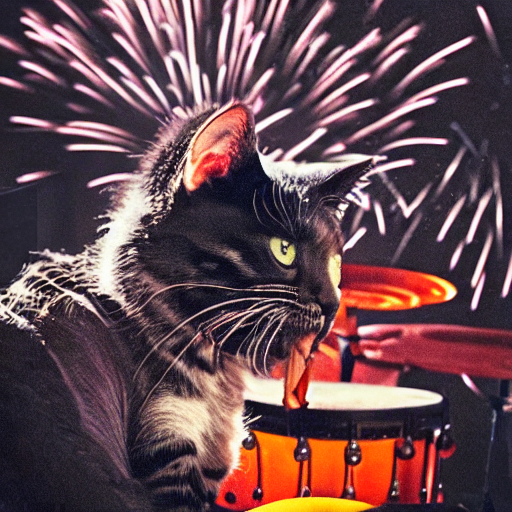
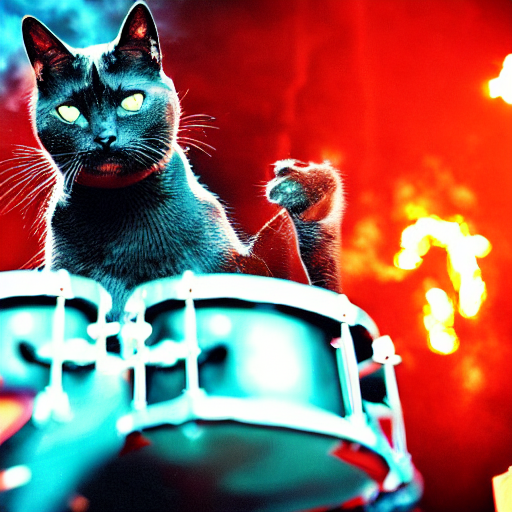
python optimizedSD/optimized_txt2img.py --H 512 --W 512 --ddim_steps 50 --turbo --skip_grid --prompt "A cat playing the drums, long hair, Slipknot style, fireworks, flames, hyper realistic, 8k" --precision autocast --n_iter 2 --n_samples 10


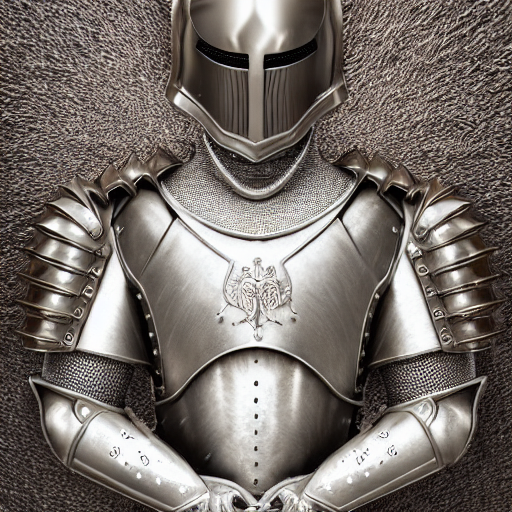
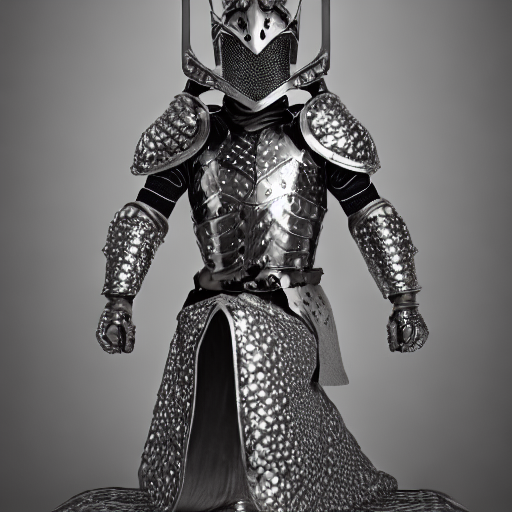
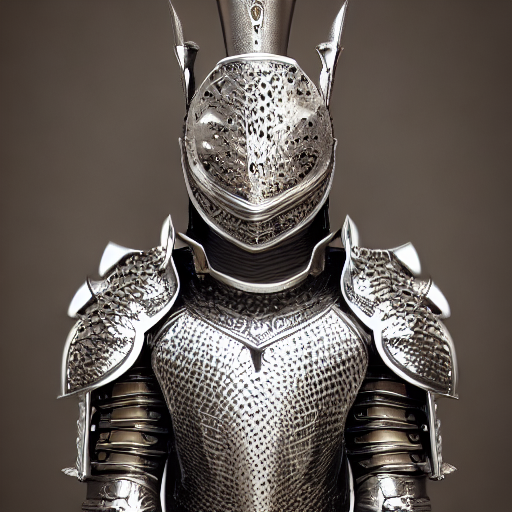
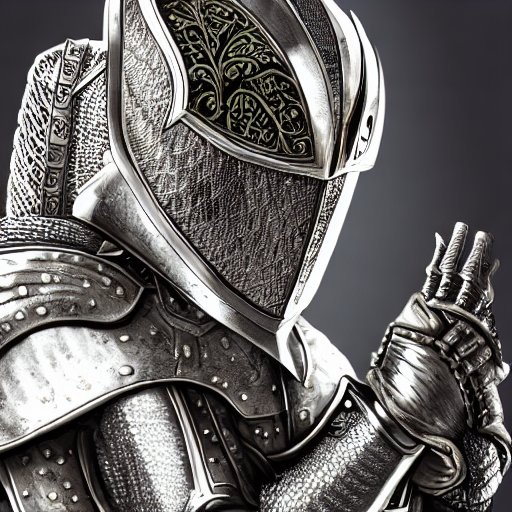
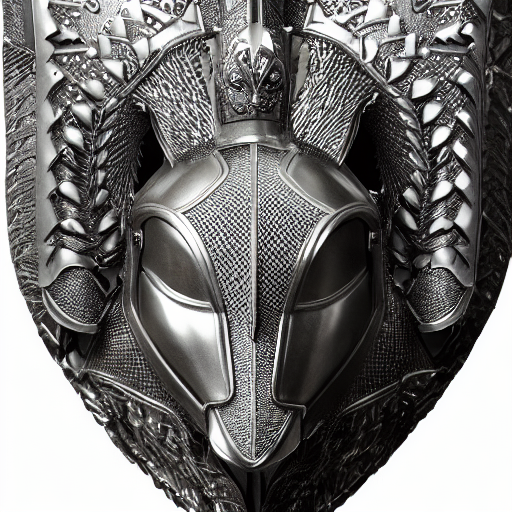
python optimizedSD/optimized_txt2img.py --H 512 --W 512 --ddim_steps 50 --turbo --skip_grid --prompt "Kneeling squirrel knight, portrait, finely detailed armor, intricate design, silver, silk, cinematic lighting, 4k" --precision autocast --n_iter 1 --n_samples 5
python optimizedSD/optimized_txt2img.py --H 512 --W 512 --ddim_steps 50 --turbo --skip_grid --prompt "A jaw-dropping landscape from the Lord of the Rings, waterfalls, high details, 8k" --precision autocast --n_iter 2 --n_samples 10
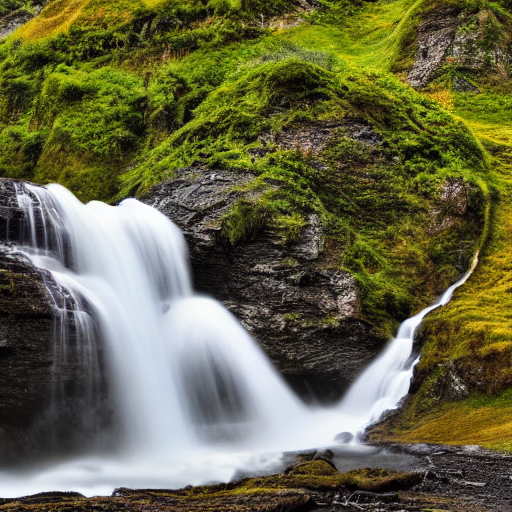
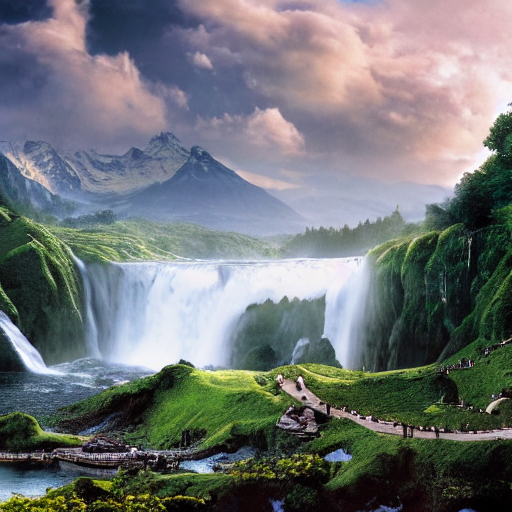
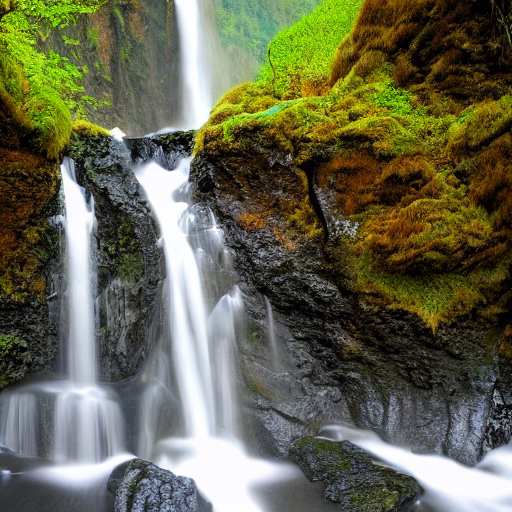
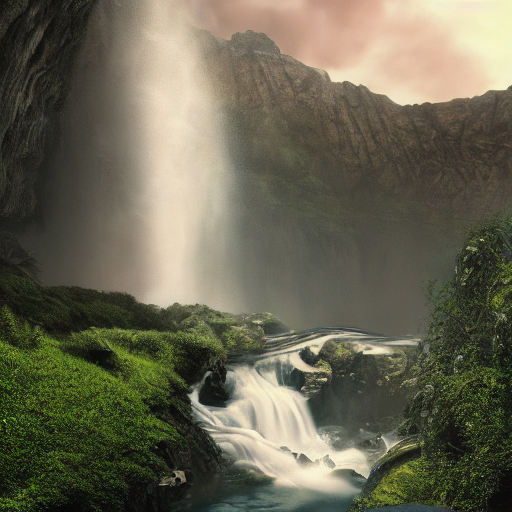
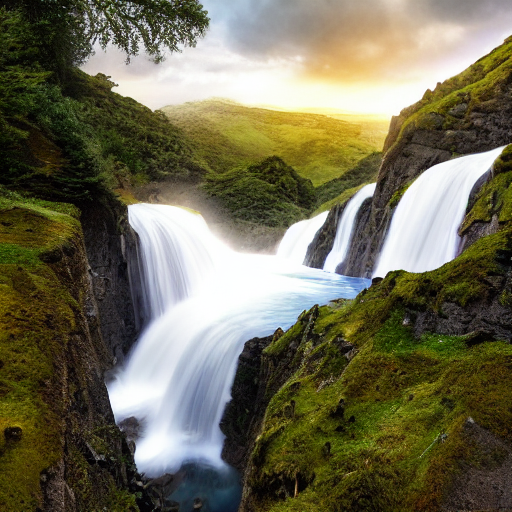
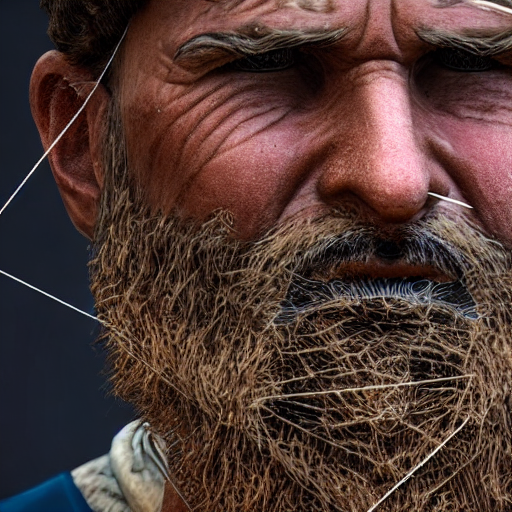
Without a doubt some of the outputs are really good. In some pictures some of the items mentioned in the prompt are missing but the level of details in some pictures are fantastic! I cannot deny that it gets really addictive once you get to try Stable Diffusion.
Image to Image
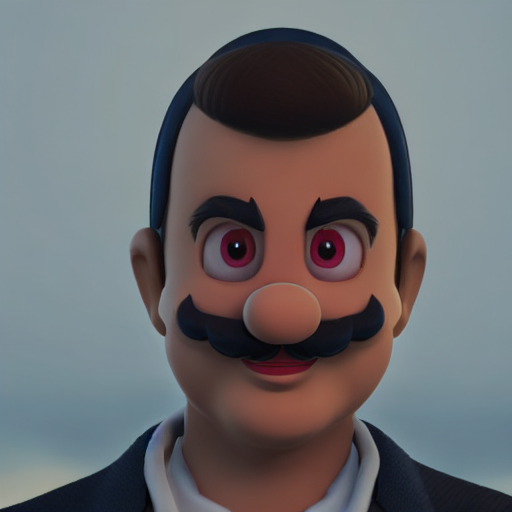
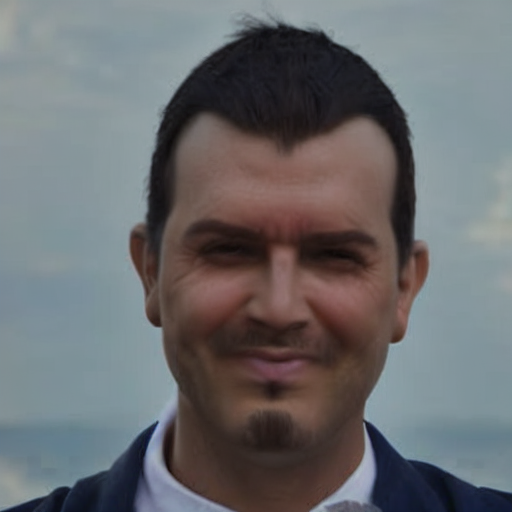
Now this is where things gets a little crazy. With Image to Image it is possible to edit an existing picture with something else, always based on the prompt. An important factor, beside the prompt is also the “strenght” paramenter. The higher the value, the more differet in features the new picture will be. Below is some example:
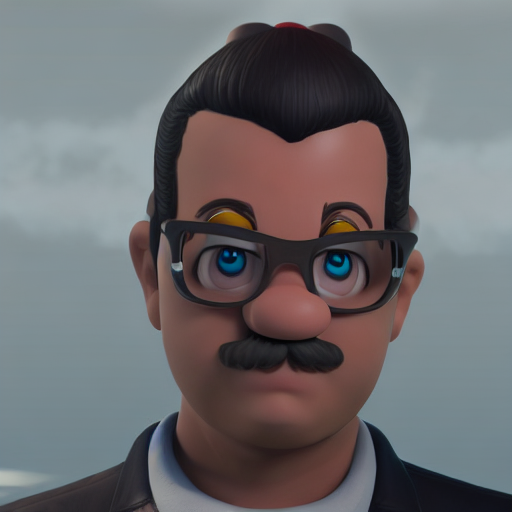
Original Picture
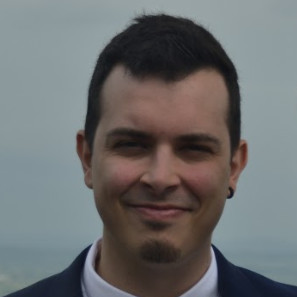
With 0.25 as strength

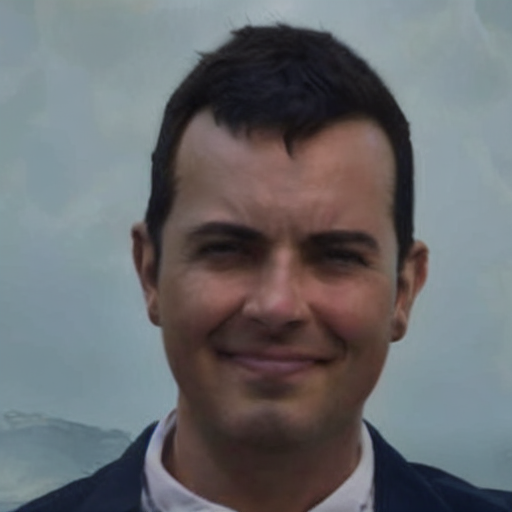

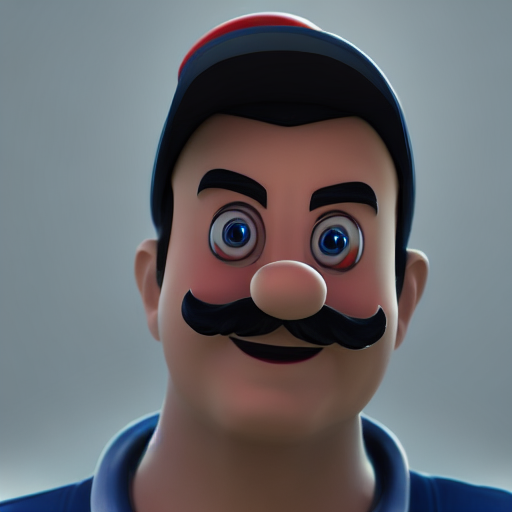
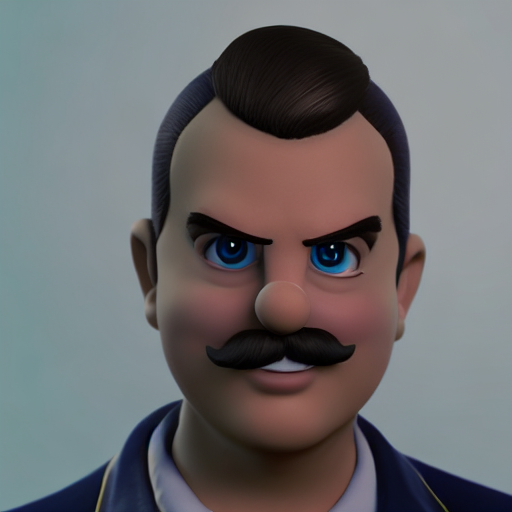
python optimizedSD/optimized_img2img.py --H 512 --W 512 --init-img me4.jfif --ddim_steps 50 --turbo --skip_grid --prompt "Turn me into Super Mario from Super Mario Odyssey, Red hat, high details, 4k" --precision autocast --strength 0.25 --n_iter 2 --n_samples 10
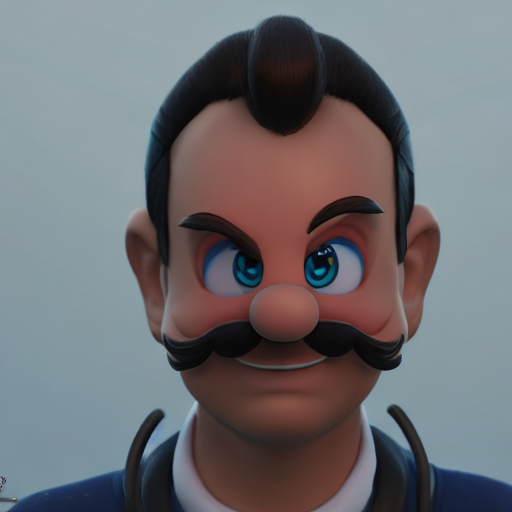
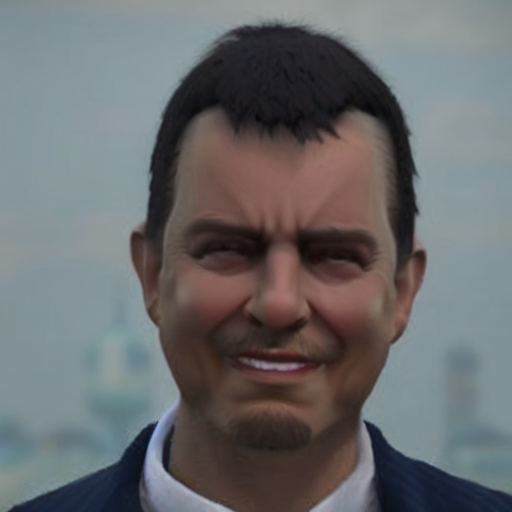
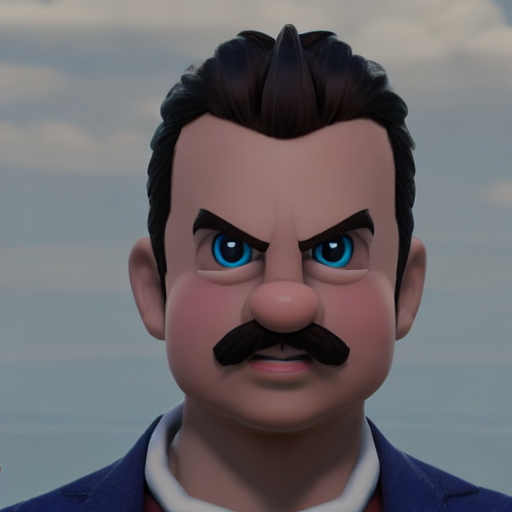
With 0.55 as strength
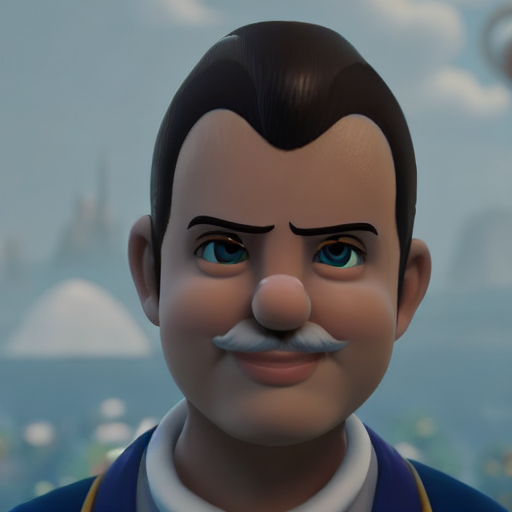
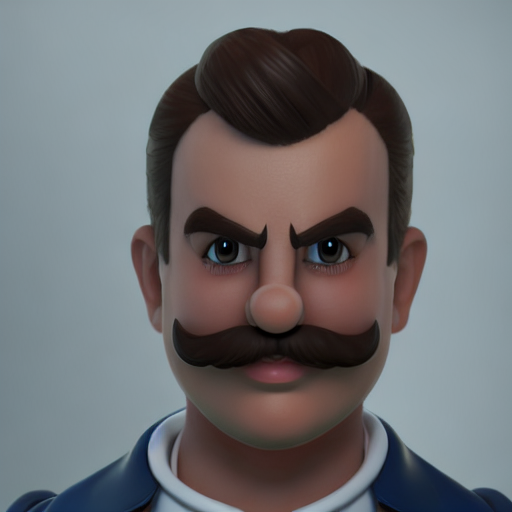
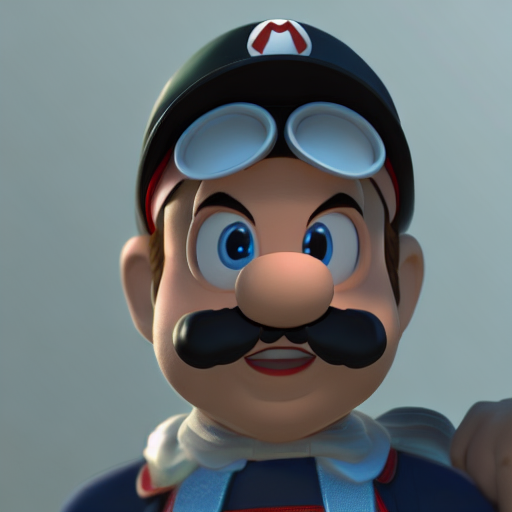
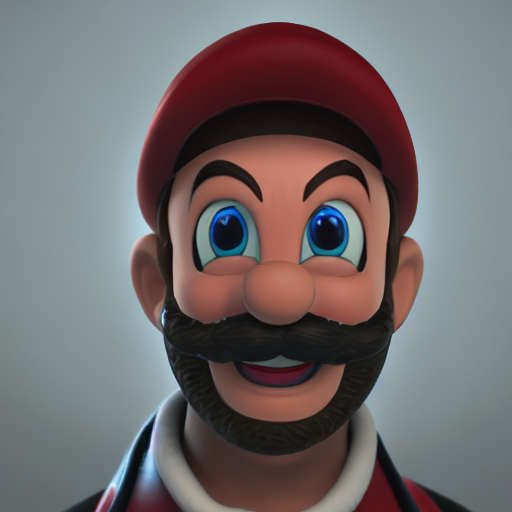
With 0.75 as strength